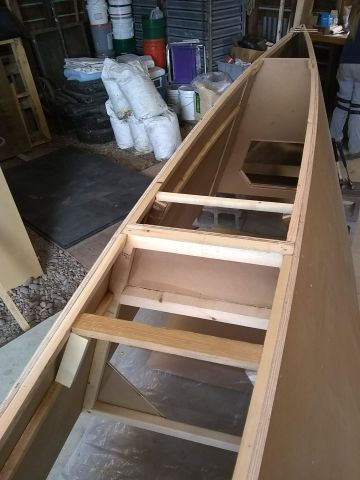
Chine stringers are glued in place. Note that stringers go between bulkheads
and are all less than 8' long. This eliminates the need to splice up boat-length
stringers, saving a time-consuming step.
Temporary spacers on each side of center frame are to give a fair curve
to side panels until glue sets up.
Bottom is dry fit before gluing. Note bunk stringers glued and clamped
using temporary block and screw pieces. The only place in the
boat where nails will be used is to secure bottom and deck to hull sides.
Nails are silicone bronze ring-shank.
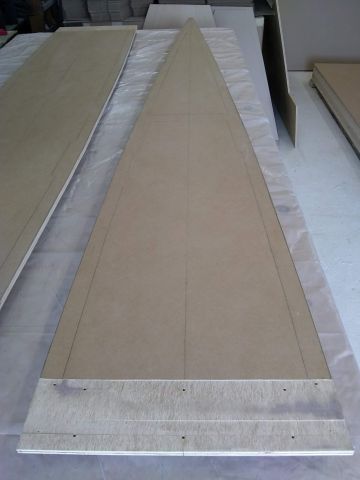
Bottom panels ready for glue. To take the drama out of gluing, every
piece we glue is cut, dry fit, screw holes drilled and contact surfaces
marked before mixing glue. Note that paper layer has been planed off where
butt block will be glued. In this case, it's probably an unnecessary step.
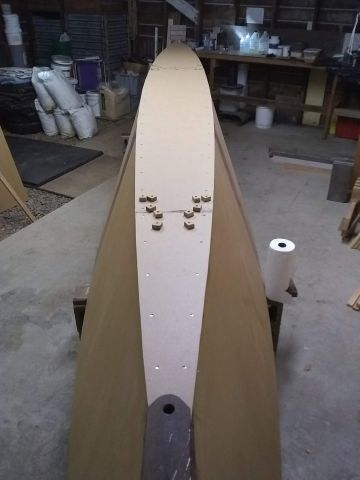
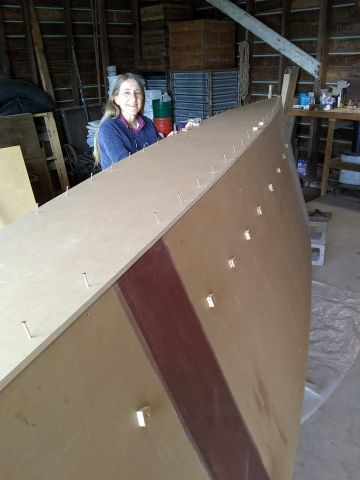
Bottom glued and nailed on.
After two weeks of build time, hull is almost ready to turn over for
deck and cabin finishing. First, we'll trim the bottom panel,
apply 6 oz. fiberglass cloth and 3 coats of epoxy to the lower half of the hull,
then apply bottom paint and turn the hull over.

We figure about 3 more days to fiberglass, epoxy and
apply bottom paint before turning the hull over. We may have time
to do the fiberglassing before heading south for the
winter. If so, we'll post some photos here.