This is the test piece of MDO we showed in the "Miscellaneous Photos From
The Shop" page.
Over the winter it was submerged in water for 5 full months. Right after we pulled it
out of the water we stood on as before to test the strength. It didn't
flex or come apart, so appeared to still be at full strength.
Although it's a bit discolored, there's no delamination.
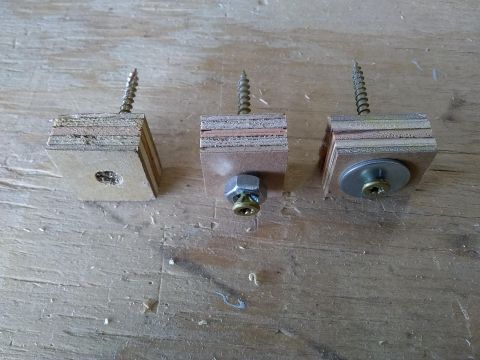
A refinement of using the small ply blocks and deck screws in place of wood clamps
is to put a nut or washer under the screw head. Otherwise, the screw head tends to get buried
in the ply as it's tightened, making it difficult to get the screw out without breaking the ply block.

First hull turned over and ready for deck and cabin work.
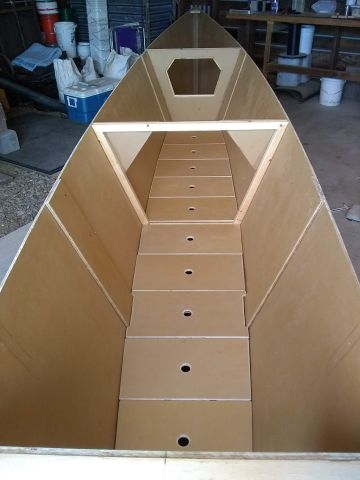
Bunk boards in place. Under the boards is storage for water and provisions.
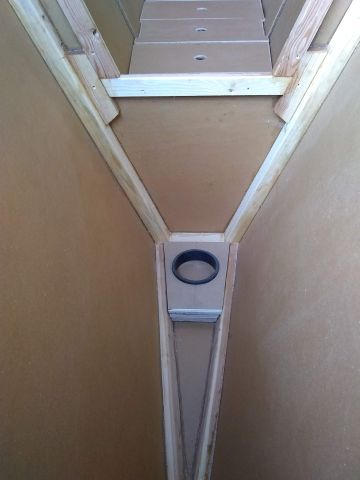
Aft mast step

1-1/2" x 1-1/2" deck beams and supports dry fitted.
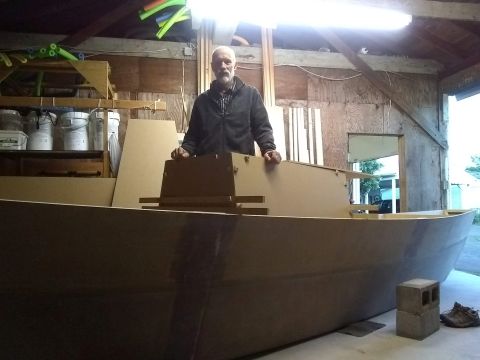
Determining the best compromise between cabin headroom and aesthetics.
We're going with a 14" cabin height which gives 38-1/2" of headroom over
the bunk boards.